Tuesday, July 22, 2014

Fabric Boxes

Today I am linking up with Andover Fabrics to do a tutorial for Fabric Boxes. This is my first link up and I am so excited!  I made my first fabric box with my friend Becky in March. She used the tutorial by Seaside Stitches. They were little and they are perfect for thread catches and tool holders. When I got home I HAD to make more, I HAD to make them bigger,  I HAD to make them in Rainbow colors ...... Lizzy House Tonal Pearl Bracelets and Textured Linen by Andover had just arrived on my door step.....match made in Heaven!

Fabric Boxes 
finished size 7" x 7" x 5"


Here is what you need....
2 Fat Quarters
1/2 yard Decor Bond 809
18" x 18" Batting
Decorative Buttons


Cut 

1 - 18" x 18" outside fabric
1 - 18" x 18" lining fabric
2 - 18" x 18" DecorBond
1 - 18"x 18" Batting


1. Iron the interfacing to the back of the outside fabric and the lining fabric.


.
2.Make a quilt sandwich. Put right sides together of the outside fabric and the lining fabric and place on top to the batting


3.Using you walking foot, sew around all sides Leave an opening along one side big enough to fit your hand in. Seam allowance doesn't really matter, just use the edge of your foot.

4.Clip the corners at a 45* angle.                                          5. Turn right side out and press flat.

                                 ''


Have you tried  Flatter by Soak? It is a starch alternative. It doesn't leave flakes like regular starch. It smells AMAZING! I used it at Stash Bash for the first time and I am addicted now!


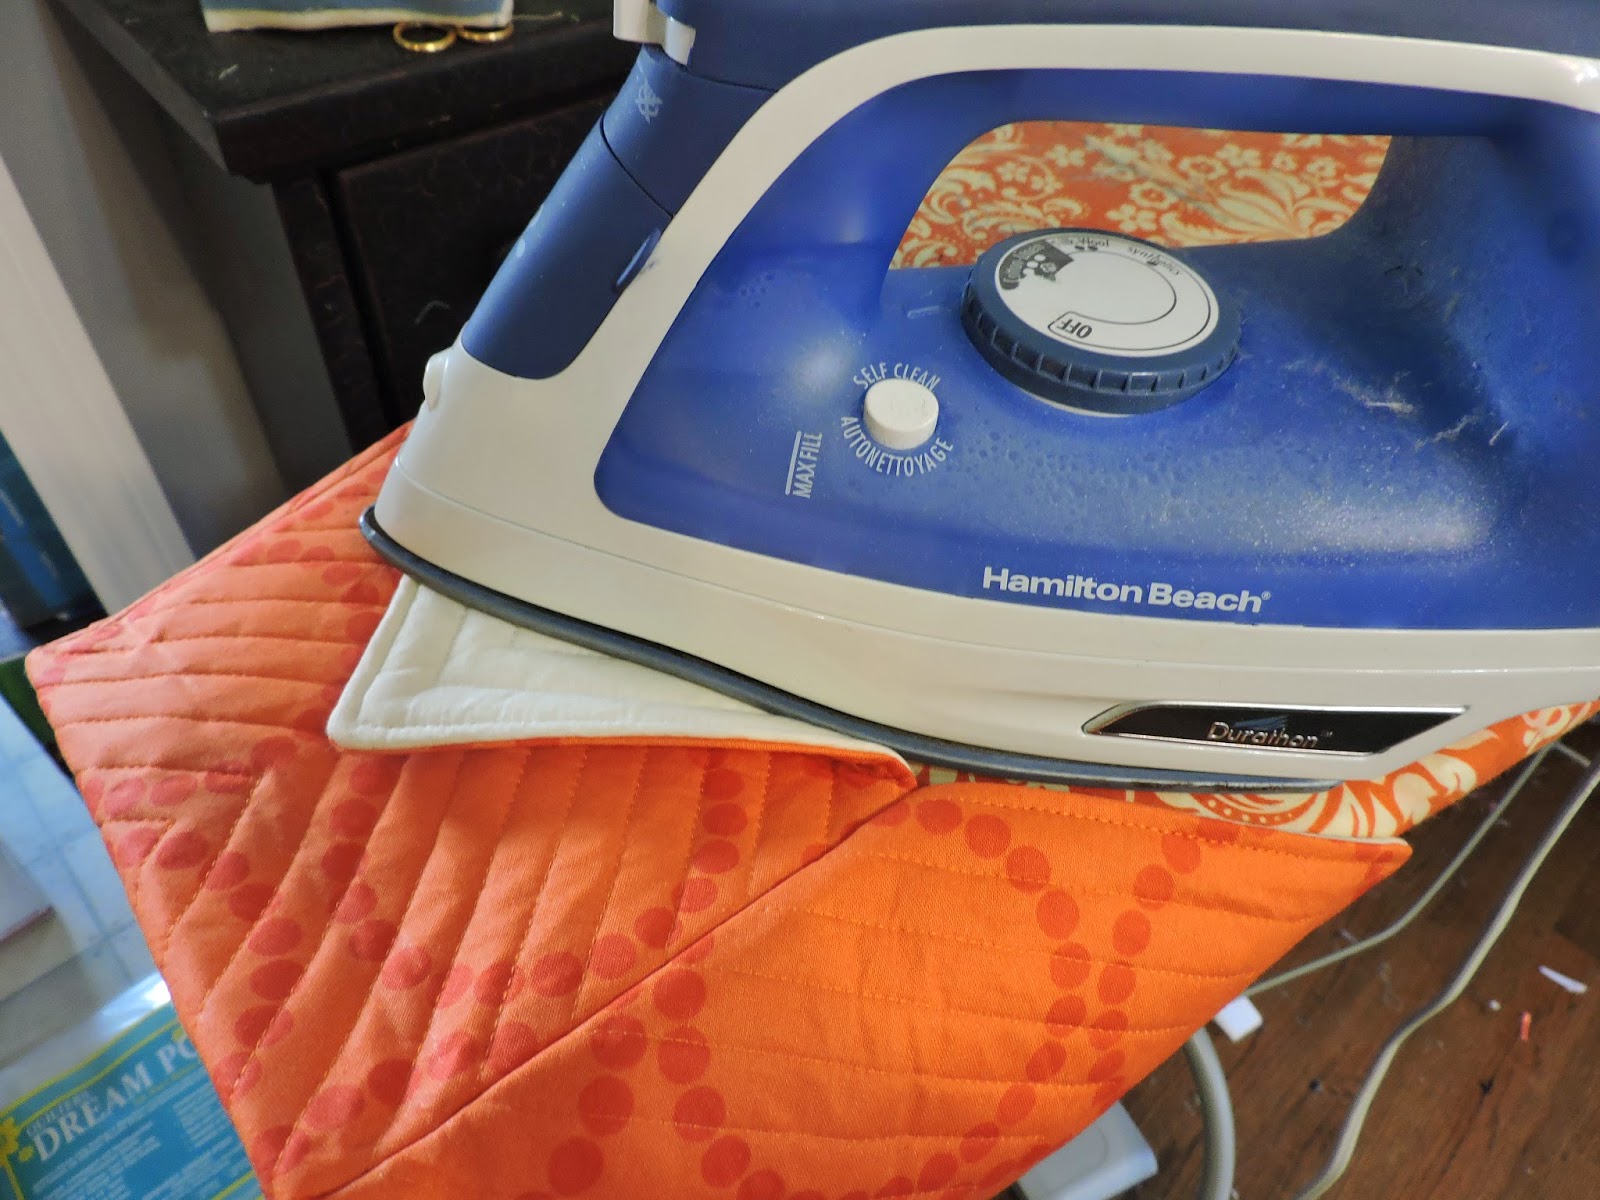
6. Topstitch 1/4 inch around the edges and then quilt as desired. I went in concentric squares till I reached the center using the edge of my walking foot for a guide.


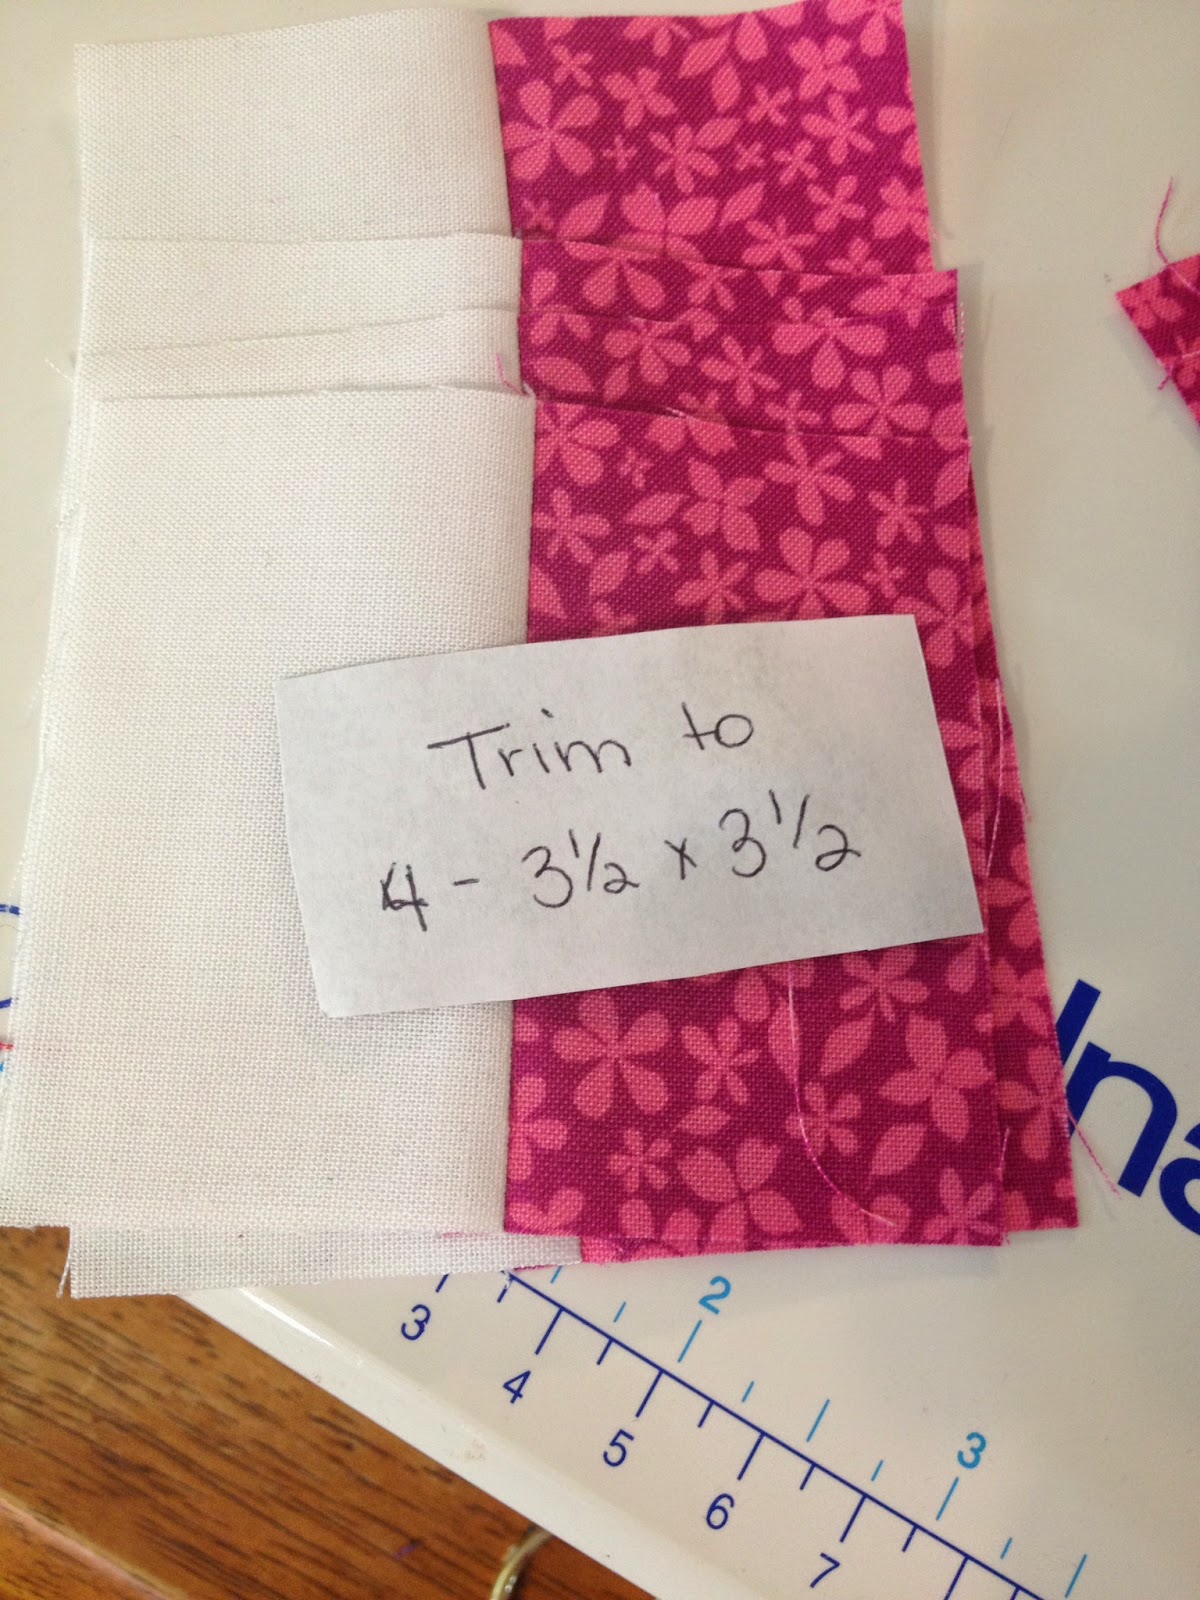
7. Fold quilted piece in half and measure from the fold....
up 3 1/2 inches and over 3 1/2 inches and make a mark.

8. Connect the 2 marks with a diagonal line. Repeat for the other corner.


9. Fold in half the other direction and mark it on both corners. It will look like this when you are done.


10.Fold in half and sew ON the lines marked .


11. Fold in half the other way and sew on the lines marked.


12. Turn right side out. I press along the bottom and press the top flaps down. 


13. Stitch all 4 top corners down.                             14. Stitch the inside folds in place


15. Embellish with buttons. I only add buttons to one side because all of my boxes sit next to each other, but you can add them to all 4 sides.

Tada! You are done! I keep fabric scraps sorted in mine....what will you do with yours????


Thursday, July 10, 2014

Stitch That Stash

Stitch that Stash 
                   When I needed to pick a block for a swap I am in, I knew I had to do this block.
I have been obsessed with Churn Dashes lately! I love them in all sizes....from itty bitty 2 1/4 in blocks that I made into a cute pin cushion,
and these AWESOME stripy ones from Sassafras Lane


 Here is what I am aiming for...... 


Blocks will finish at 9 inches (9 1/2 unfinished) 
 Pick any bright rainbow-y kind of color you want and pair it with Kona white. 
You will need :
Background                                                             Color 
2 - 4 x 4                                                                  2 - 4 x 4
4 - 3 1/2 x 2   (or 1 - 2 x 14 1/2)                             4 - 3 1/2 x 2  (or 1 - 2 x 14 1/2)
1- 3 1/2 x 3 1/2

Seams are 1/4 inch unless otherwise noted 


Mark the wrong side of the 2 - 4 x 4 from corner to corner. Pair each background fabric with a 4 x 4 color.


Sew a scant 1/4 inch on either side of the line marked. Cut apart on the line. Press towards the background fabric. Trim each half square to measure 3 1/2 x 3 1/2 


Sew the 2 - 14 1/2 in strips together.  Subcut into 3 1/2 x 3 1/2 squares (or sew each 3 1/2 x 2 background to each color 3 1/2 x 2)  Press towards the background fabric

 Lay out your pieces as shown and sew together with 1/4 inch seam allowance


 I pressed the center row towards the center and the top and bottom away from the center. 


I hope you fall in love with Churn Dashes too!
Karie


Wednesday, June 4, 2014

Kayleigh's New Camera Bag


Kayleigh bought her first "big girl" camera...Nikon P530. It is still a "point and shoot" camera but is a great camera for her to use for making dance movies for her classes next year. A new camera means a new bag....we could have purchased a bag for less than $25.00 but who wants a generic black bag???? 


I played with the box that the camera came in for over an hour analyzing how it could be done and the best way to do it. She wanted a cross body style that could hold the camera, her phone, her wallet or credit card and of course SD cards and extra batteries. I have tons of zippers in a variety of different ways.....I have written directions for at least 3 different ways in various patterns but I have never done a zipper around a curve so that was my major dilemma but I figured it out! I quilted it with 2 layers of Annie's Soft and Stable so that there would be plenty of cushioning. I did 1/4" quilting but I would use 1/2" if i did it again so that it wasn't as compressed. I also used a layer of DecorBond on both the outside pieces. 

After quilting I added loops with "D" rings so I could clip on the strap. I recycled the hardware off an old Vera Bradly laptop bag I have...LOL  


I added pockets on the lining side for all the things she may want to store. 


I zigzagged the raw edges and sewed the sides and bottom with 1/2" seam allowance. I may add binding to cover the seams though because they bother me....but we will see if that ever really happens!
She has a cool camera strap coming from my friend Keri  at The Quilted Valkyrie and there will be plenty of room for it in this bag.

  I am sure as Kayleigh starts actually carrying it she will have suggestions of what to do different for her next case but for now.....this one turned out pretty awesome....at least in my opinion! In the mean time, I will still be taking pictures with my iPhone. 


Till next time
Karie

Monday, June 2, 2014

Deployment Quilt

Sometimes you meet amazing people....I met someone amazing in 1999.
I didn't know how amazing she was when I first met her....she was one of the wives I met when our husbands were stationed together. She was like me...we hung out at coffees,  went to the same church, I even tried to teach her to quilt...the only person I ever FAILED at teaching (she is craft challenged...LOL). She is a tiny little thing...a whole 4'9 (and 3/4....that 3/4 is really important she says) and 89 lbs soaking wet....we teased her that she barely weighted enough to be out of a car seat! She was trying to get pregnant at the time and I know I said all the things that someone who has kids never had infertility issues says....gain some weight, relax, it will happen when you quit trying. Our husband were on different career tracts, they moved and we kind of lost touch, but I knew she was still trying.
In 2009 I finally heard she was pregnant and that she wrote a  blog so I looked her up and caught up with everything and reconnected with her. I eagerly awaited every blog post and the baby boy they had waited so long to have. I was on the list for her husband to text as soon as she delivered....instead, I got a text that said to pray...that she and the baby were fighting for their life. By morning the update came that he didn't survive. Stunned, shocked, confused does not even begin to cover my emotions and I wasn't even in her circle of close friends.This is when I learned she was amazing. She learned how to live through having your heart ripped out of your chest...and she blogged EVERY.SINGLE.RAW.EMOTION. I truly have no idea how she did it.......
14 months later she had another sweet baby boy... that summer they moved back to town and now...I am his Mimi too!
I was there when she found out that she was pregnant with her third little boy...and I was crushed when she lost him too.
When her husband got orders to spend a year overseas, a deployment quilt seemed like something small I could do. So her husband picked the colors to match a Van Gogh print they have.
 The plan was that they would make a "paper chain" from the fabric....at the end of the deployment I would take the pieces...make a quilt...a simple design, something traditional-ish. And then I got cancer...and everything I learned from her about being real, and owning your emotions....so I put it all on Instagram and Facebook.... the good, the bad, and the ugly....lots of selfies to prove the ugly...LOL

Fast forward....he came home early....YAY...but we always forgot to get the fabric and the "links" from her house to mine....and then they found out they were moving again (isn't the military "fun"?) I got the pieces Friday and they leave in the morning....she said no rush but I don't work that way. So I worked all weekend.


There is one strip for every day that he was gone. Each week has a gray piece on either side giving it a "basket weave" look.  I used raw edge applique with No Fray by Dritz on the edge and "scribbled" all over them with thread to sew them down.


I quilted it with Aurifil thread. from my Happy Colors box that I got at market. I did loops in the center, meandered in the gold border and did loops and stars in the outer border....


Because time was short, I did the binding by machine with a decorative stitch. 


I LOVE the end result!


Saying goodbye is something military wives try NOT to do...we say "See you later" 
I <3 you Lori!


Till next time
Karie


Tuesday, May 27, 2014

Spring Market Pittsburgh

Kwik Rainbow Star Pillow (TKQ59) is my newest pattern. It was ready just days before market. Yes, I am KRAZY but sometimes I get inspired and I ran out of time! 

My official reason for being at Spring Market this year was to teach a Schoolhouse session for Dill Button Company. I made lots of different samples for them including this awesome star. I made the Star from my new pattern Kwik Rainbow Star Pillow (didn't do the pillow part) and then covered it with a sheer fabric (think curtain sheers) and quilted it. I added DecorBond to the front and the back fabric as well as batting. I was able to spray baste the sheer layer to keep it from moving around and quilted it with straight lines 1/2" apart. Sewing the buttons on took about 1 1/2 hours per color section. I did not try hide my threads and just traveled my thread from button to button. Once the buttons were all on I used Steam a Seam and fused another piece of fabric to cover all the thread showing on the back. Then I put the binding on. All of the interfacing and layers kept the buttons from being to heavy. 


 The Schoolhouse Session seemed to be a success even though I think I sounded like an idiot! The sample below was used as a giveaway by Dill. I was able to put the center circle on with a raw edge as the buttons covered the edges. I did simple outline quilting around the petals to make them pop and a circular design in the center. I did hide my threads when sewing the buttons on this sample.

As much fun as the Schoolhouse was for me, the real reason I went to market was to meet all my Instagram friends (AKA the IG Mafia as one of my Bff's calls them!) I made my Kwik Scrappy Totebag (TKQ14) the night before I left (we have already established I am krazy) and added my new logo to it so that people might pick me out of the crowd.
 

It worked, and I met so many fabulous friends! If you want to see pictures of them all check out my IG feed ( @Karie_TwoKwikQuilters ) My favorite/most embarrassing moment is when I saw someone who looked familiar behind me on the escalator. I waited for her and then told her she she looked familiar, and asked if I knew her and was she on Instagram....she said yes so I asked what her IG name was. She said "Tula Pink" I felt like such an idiot...I was so embarrassed that I didn't dare ask for a picture! She did notice my Selvage Shoes that my daughter made from a tutorial by Michelle of Firetrail Designs. My advice to all is that if you are going to stick your foot in your mouth, make sure you are wearing great shoes!


That is all for now,
Karie