
I dusted off the blog to give you a look at how you can draft a knit fabric pattern from something you already know fits and looks good on you. I am a plus size (about a 20) so most things I try on, I don’t like on me. I have however, found a T-shirt style that I love. I got it from a popular clothing company but getting something in a certain color is not easy so I figured out how to draft several of my favorite knit pieces that I KNOW look good on me. This takes out the stress of making something that you spent time and money on but don’t like on you well enough to actually wear.
First throw your fabric into the washer and dryer so it will be ready to use. I am using this fabulous It's A Plus by Rashida Coleman Hale from Cotton and Steel.


I prefer to use freezer paper to draft on for a couple reasons. It is sturdier than tissue paper and because the wax side can be ironed and will stay in place. This is especially helpful on knit so it doesn’t shift around. The wax side does not leave any residue on your fabric and it is easy to find at the grocery store or even at Walmart. You will also want a pencil, a sharpie, a long ruler, a small ruler and a flexible measuring tape. I also recommend Eloflex stretch thread for your regular machine in your top and Bobbin.

I will show you how to do your favorite t-shirt but the drafting can easily be done on a pencil skirt or maxi skirt as well.


Place the center fold along the long edge of the paper. If your t-shirt is larger than your paper, add paper where needed.

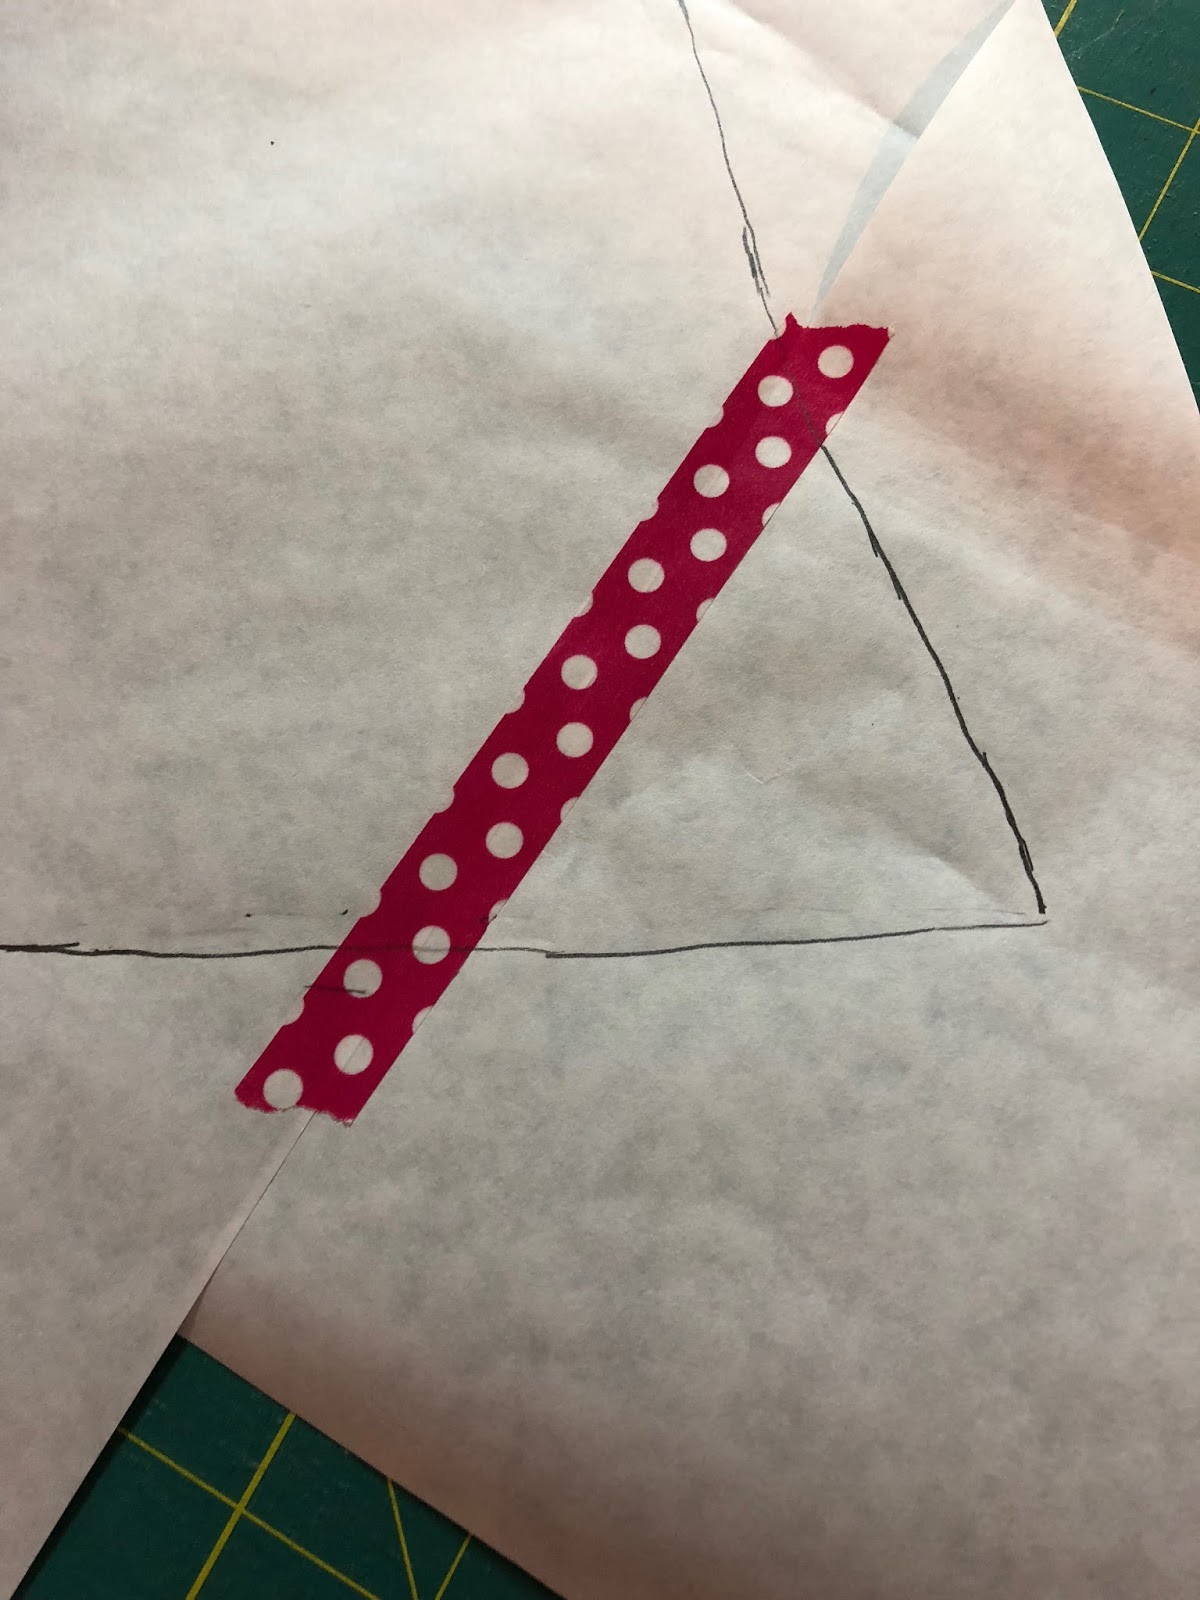

Smooth the sides of the t-shirt flat and make dash marks along the shape of the side and along the hem. Move the sleeve out of the way enough to mark the shoulder as well as where the sleeve will be set in.


Move the t-shirt and connect the marks. (Finessing the marks into curves where necessary) Make sure to add seam allowances adequate for serging the seams. I use a small ruler for this because it is easier to handle. Mark your seam allowance you prefer to sew with. I use 3/8”. Connect your marks with a sharpie so you can see your final lines. Indicate where the fold and mark the pattern piece as the BACK is along the straight edge.


Repeat with the t-shirt folded the other way (so you “see” the front side of the t-shirt). Put the fold along the straight edge and smooth the side seams and mark as you did the back piece. Move the sleeve out of the way to mark the shoulder and where the sleeve will be sewn in. Mark where the neckline starts in the center and the top of the shoulder is. Fold back the layers, so that you can mark the curve. Connect the marks (finessing the marks into a curve where necessary) and add seam allowances. Note the fold along the straight edge and that it is the FRONT


For the sleeve.... smooth the sleeve (long or short) so that the fold extends from the top of the shoulder. The fold will go along the straight edge of the paper. Mark the curve of the sleeve and connect the marks. (You will have to finesse the marks into a curve) Note the fold on the pattern piece.
If you want a longer sleeve, find another top that you like the fit of, trace the width of the bottom of the sleeve. Add the seam allowance and then use the long ruler to connect the line. I have marked 3/4 length as well as long sleeve option.


Measure the neckline with a flexible tape measure. Subtract 2-3” from that number. That is how long you need to make your neck band. 1” x _____

Cut out your pattern pieces and iron them to the fabric with the straight edge marked along the fold. If the fabric is not directional then you may use less fabric if you add a seam along the fold of the back piece instead of putting it on the fold.( this is what i have done in this photo) just add a seam allowance. The empty section will be used for cutting the sleeve. because the freezer paper sticks to the fabric, it can easily be cut with a rotary cutter.


If you added a back seam, sew that seam first.

Next sew the shoulder seams. If they are not exactly the same size, do not stretch it. you can trim it.


Then fit your shoulder in (RST) If you are using a serger remember not to use pins. I use binding clips to hold things in place instead. Find the center of the sleeve and match it to the shoulder seam. Sew from the shoulder seam to one edge of the sleeve then sew from the shoulder seam to the other side of the sleeve. Repeat for other sleeve.


Match the seam where the side and the sleeve meet. Sew the long sleeve from the bottom edge of the sleeve to the bottom edge of the t-shirt in one long seam. Repeat for the other side.

The neckline is all that is left. Sew the ends of the neck band together and match one edge to the center back, RST. Use a clip and find the center of the neck band and match it to the center of the front. You will need to slightly stretch the neck band to make it fit. (This will actually make the neckline lay flat in the end.)


Serge the edge of the neck band, sleeves, and the bottom of the t-shirt if you have a serger.
Top stitch the neck by folding the neck band to the inside. The hems are sewn on your regular machine with Ecoflex in the top and bobbin. I use the regular sewing foot for my machine (not my quilting foot) and I move the needle all the way to the left because this is the size i prefer for my top stitching. With the Eloflex in the top and bobbin I can hem from the "wrong" side and keep my hem the same size (width of my foot).


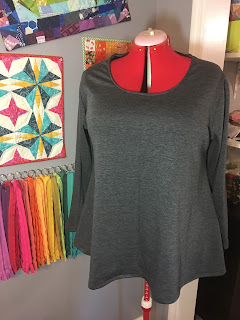
You are done with the exception of branding your work....add your sewing label wherever you desire. My personal favorite spot is along the hem for all to see! shown is a long and a short sleeve version of the same top.


You are done with the exception of branding your work....add your sewing label wherever you desire. My personal favorite spot is along the hem for all to see! shown is a long and a short sleeve version of the same top.


Here are a few other tops I have finished this week


I leave you with a photo of one of my BFF's in her new top.....clearly she is not happy with it at all!
Thanks Elizabeth Soukup for letting me use your photo!
